


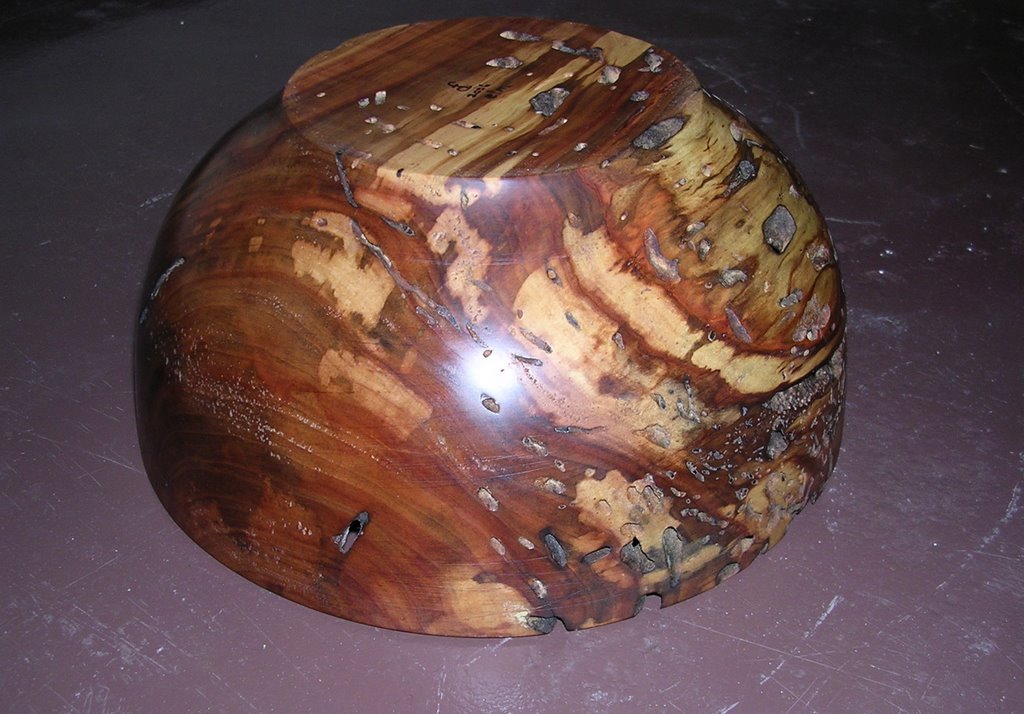

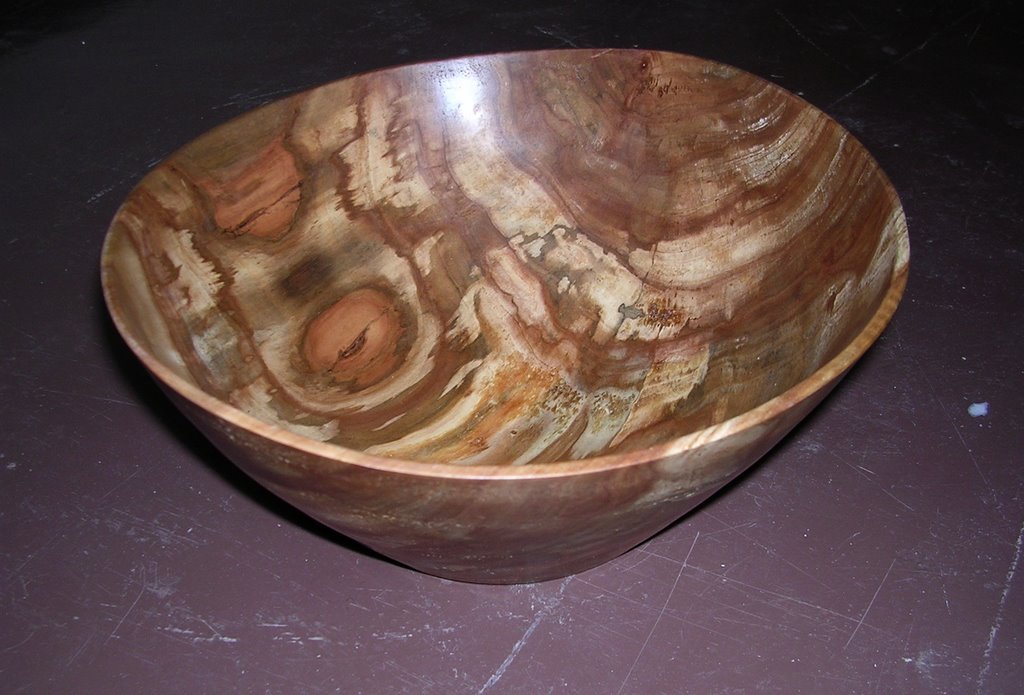


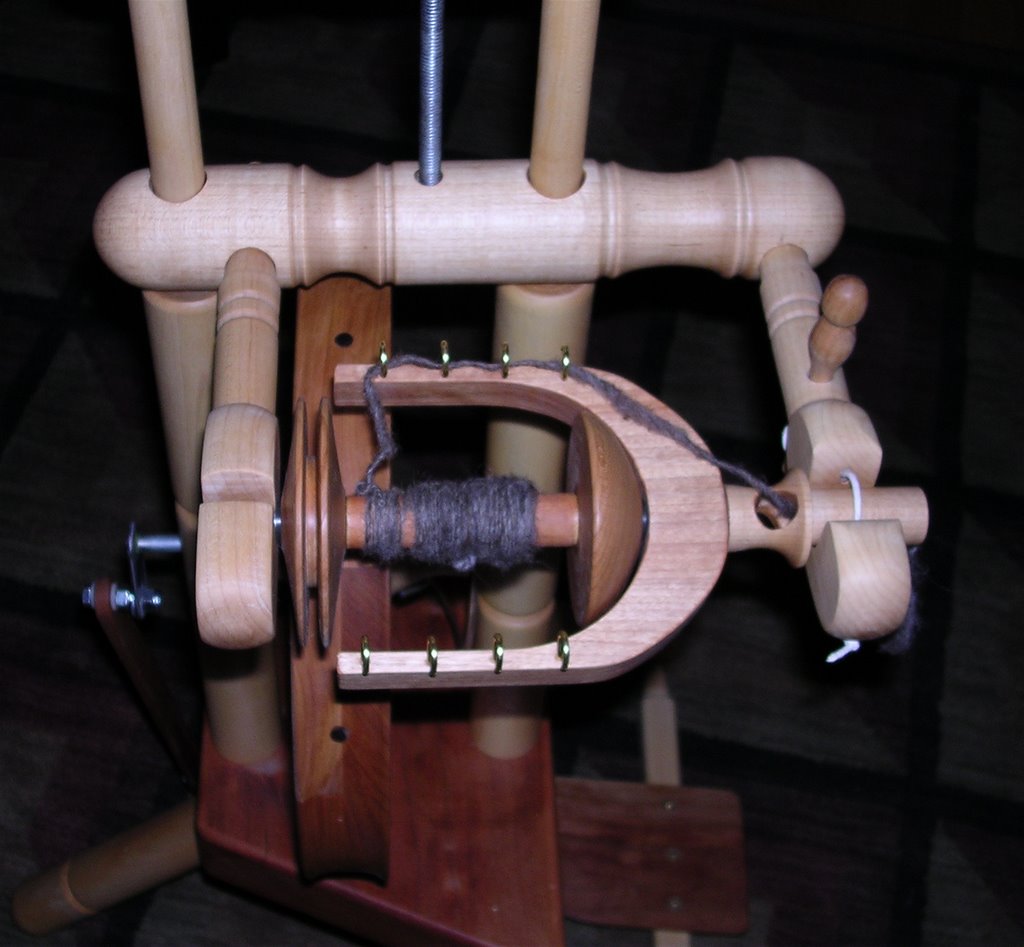
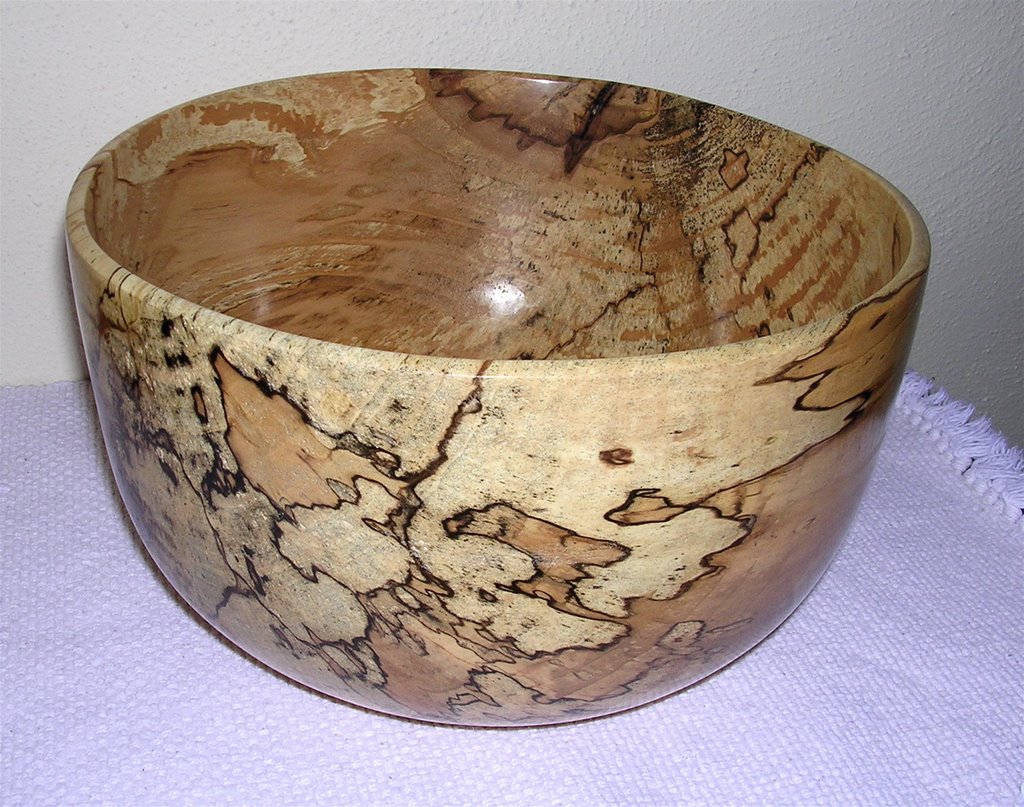
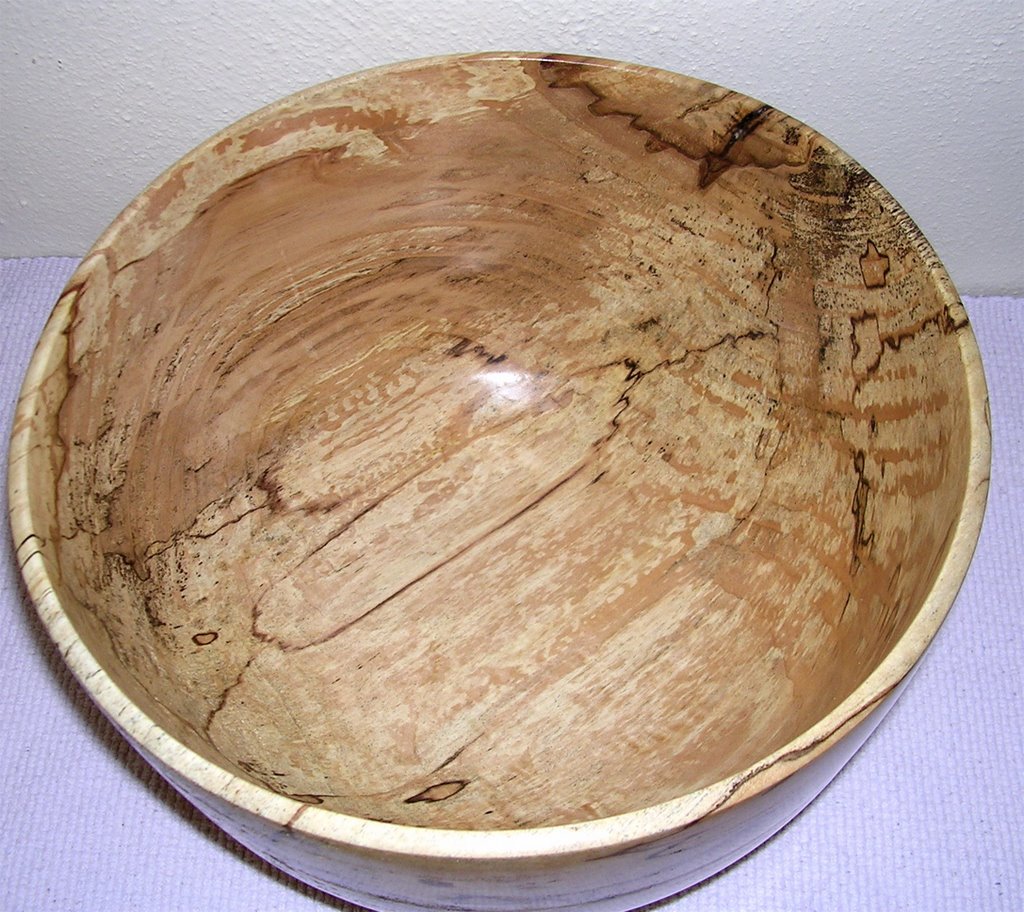

Spalted maple is often very beautiful. The trick is to show it off to best advantage. The spalting in this particular piece of wood made that easy! 5.75"H x 10"D.

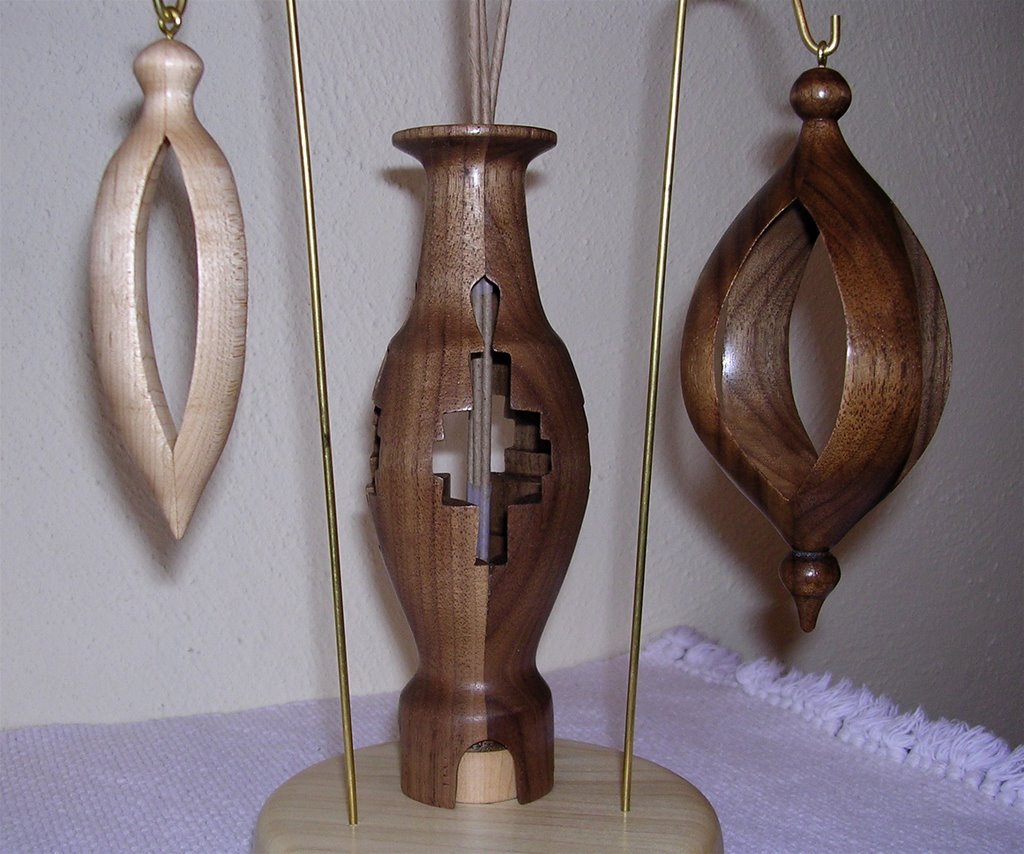
I made these for this month's "challenge" at our woodturners' group. The ornaments are maple (4.5"H x 1.5"D) and walnut (5.5"H x 2.5"D). The vase is also walnut (7.5"H x 2.5"D). The flowers are dried daisies. But how do you create the open space inside the objects? The title gives a hint - sort of.
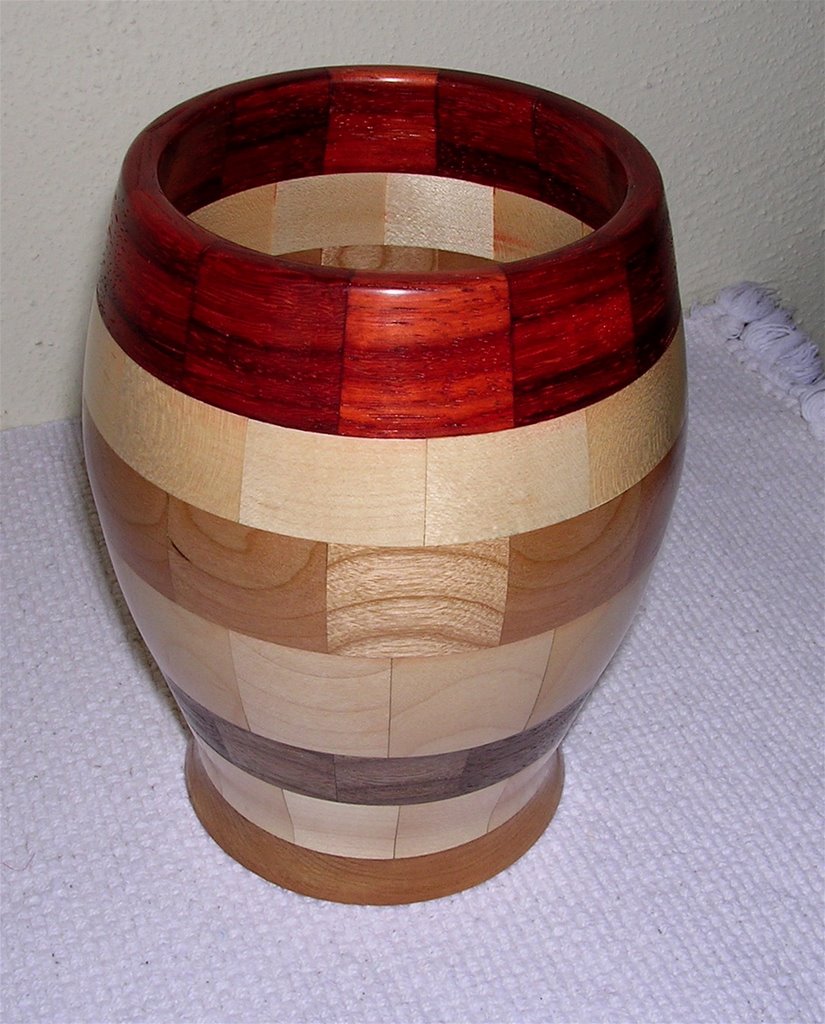

This vase or urn is composed of six rings, each containing twelve identical segments, plus a disk for the foot - 73 pieces of wood altogether! The woods from the top down are padauk, maple, cherry, maple, walnut, maple and cherry. It measures 6"H x 4.5"D. The small pieces comprising a ring are cut on a "sled" on my table saw so that each piece in the ring is of identical size and all pieces are cut at exactly a 15 degree angle at both ends. The pieces are then glued together to form the ring, and the rings are then glued together to form the rough shape to be turned. Then the vase is turned, inside and out. (There are a couple of tricks along the way....)
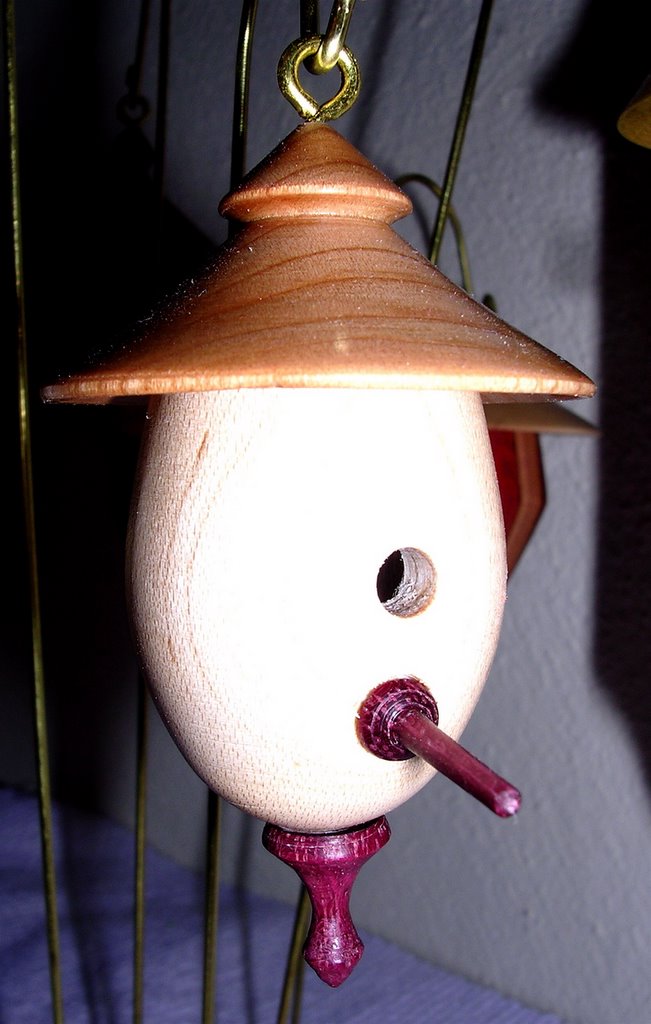
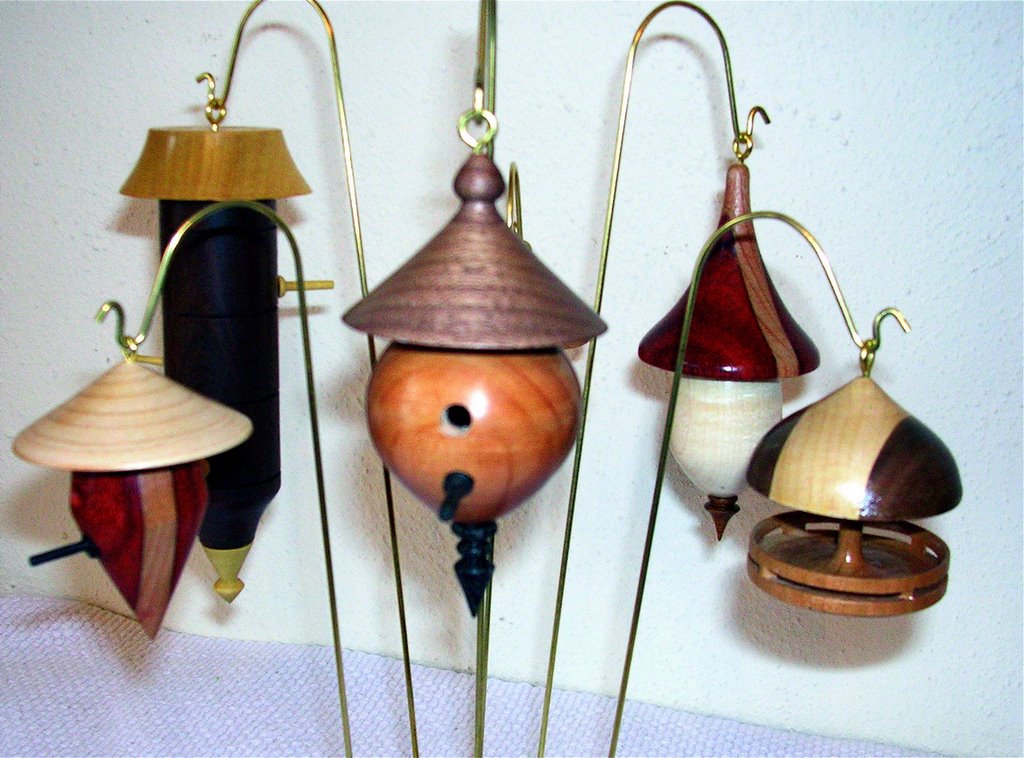
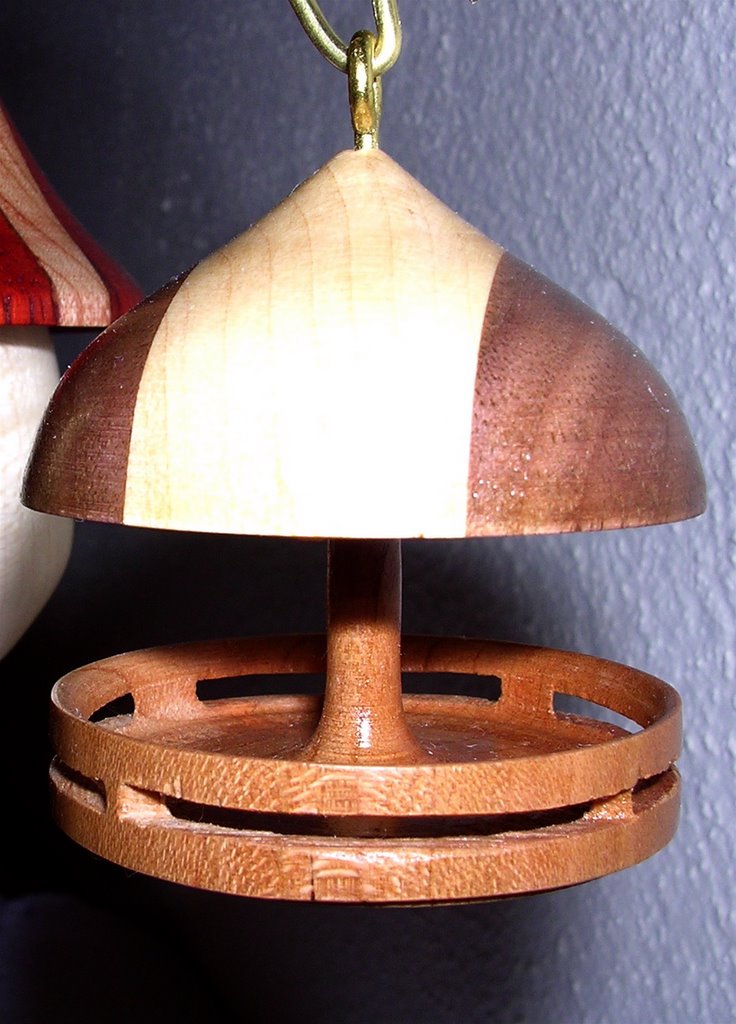
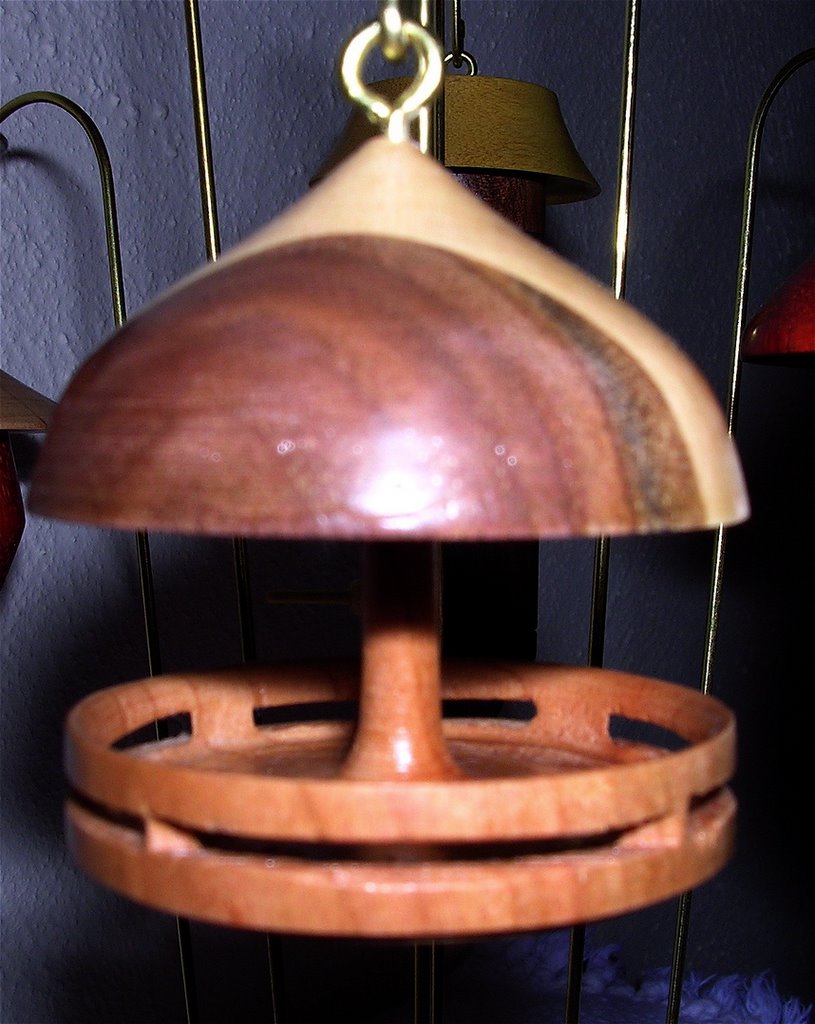
Here are a group of miniature birdhouses that I turned as part of a "challenge" in our woodturners' club. We typically have a demonstration of a particular type of turning or project at our monthly meeting, and the next month try to produce the project on our own. These are the first birdhouses I have tried; it's actually a lot of fun to do. The sizes range from 1.75" x 1.75" (the little feeder) to 1.75" x 5.25" (the 3-level condominium).




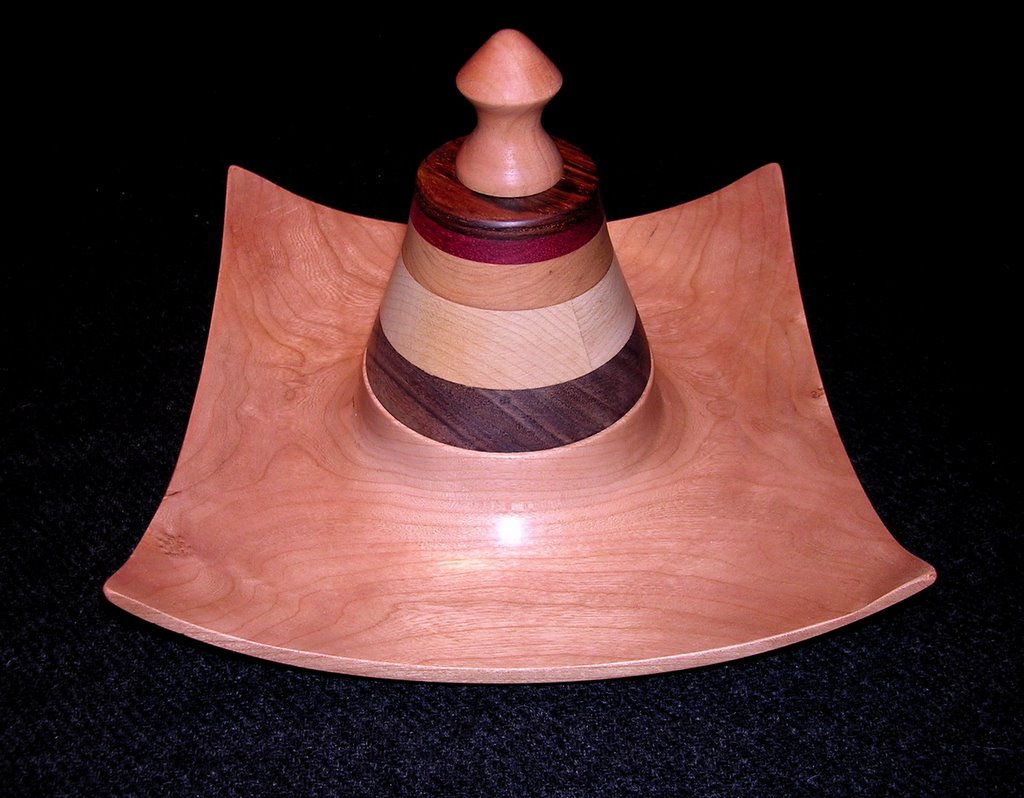
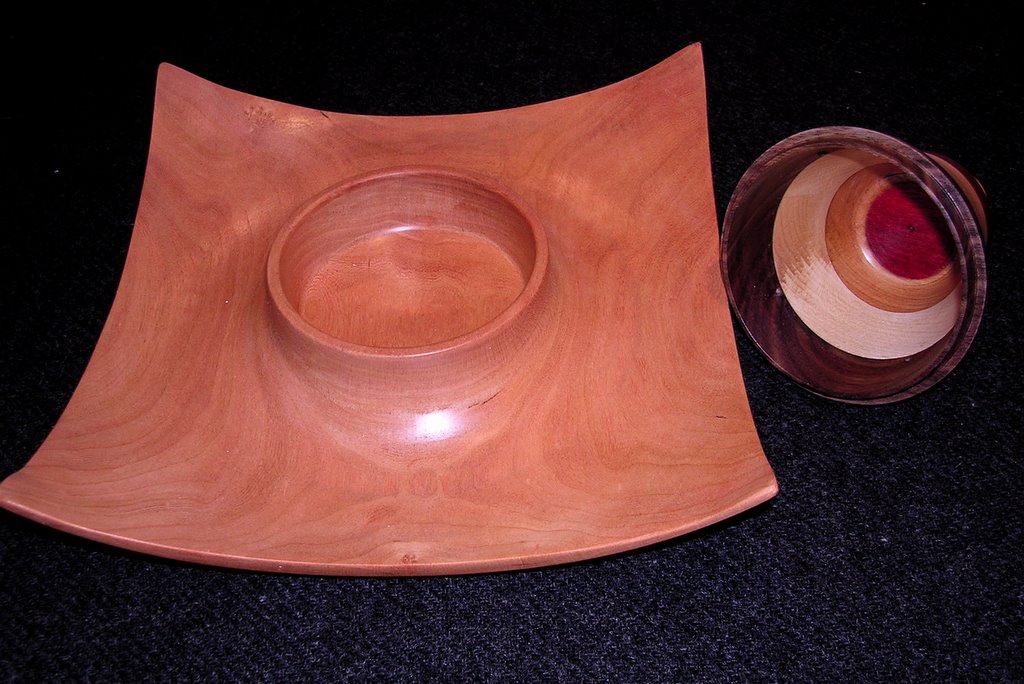
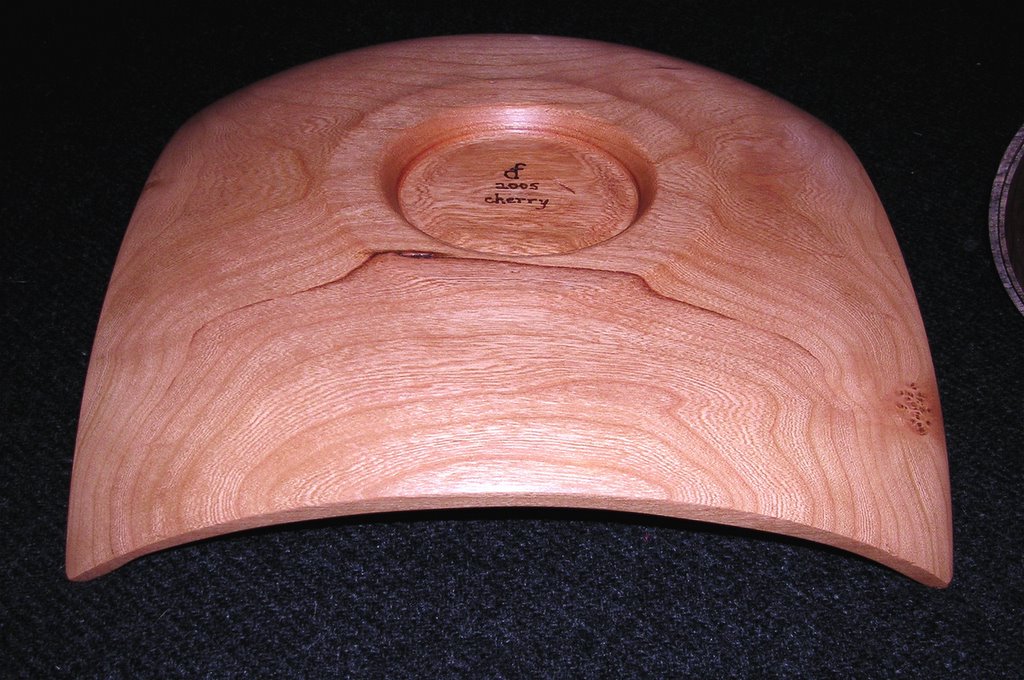
Here's another cherry bowl turned using the "flying corners" approach (see preceding post). I didn't find the shape of this one particularly attractive when I was done, so I glued up and turned the multi-colored cap from some scraps (from the bottom up: walnut, maple, cherry, bloodwood, and cocobolo; the knob is cherry). The result is certainly unusual, whatever else you may think of it! It measures 8" from side to side; the center "dish" is about 3.5" across.
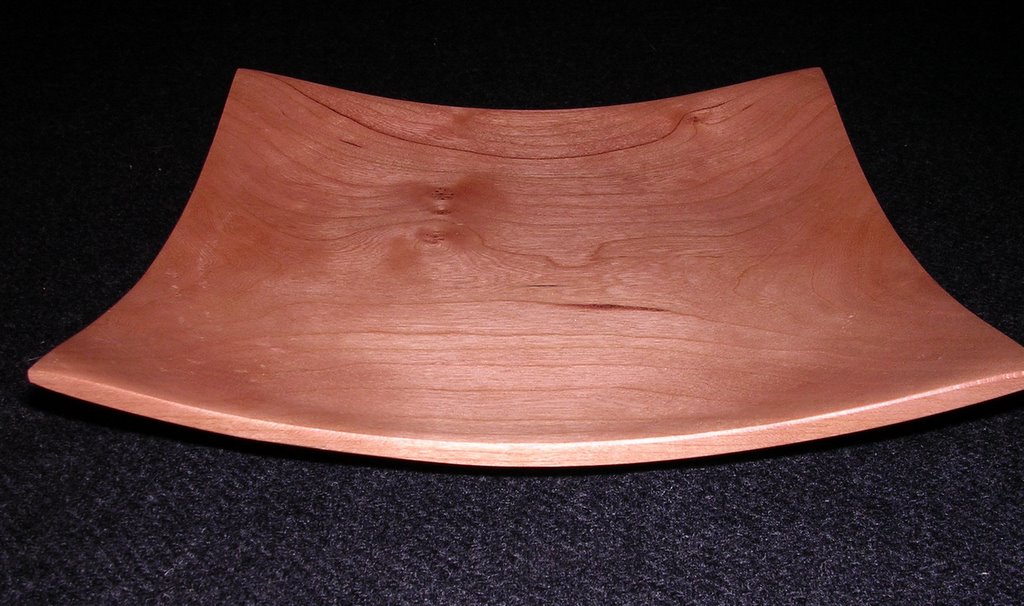
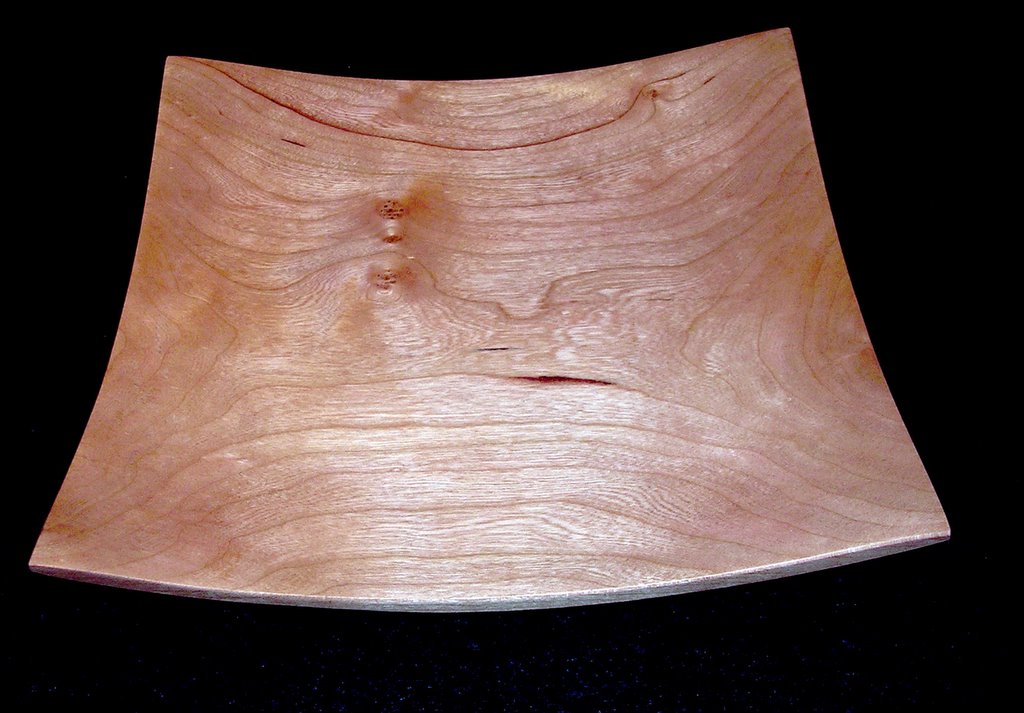

The square bowls in the last (Dec. 18) posting were turned using a technique in which scrap pieces are added to the sides of a square blank, and this larger blank then bandsawed round. The bowl is then turned, as if the scrap pieces were the edges of a round bowl. When that is done, the scrap pieces are bandsawed off, leaving a bowl with straight sides. This bowl, however, was turned with just the square blank mounted in the lathe - so there were sharp, flying corners for the entire turning. Tends to focus one's attention. This bowl was turned from 8/4 cherry, and measures about 8.5" from side-to-side.


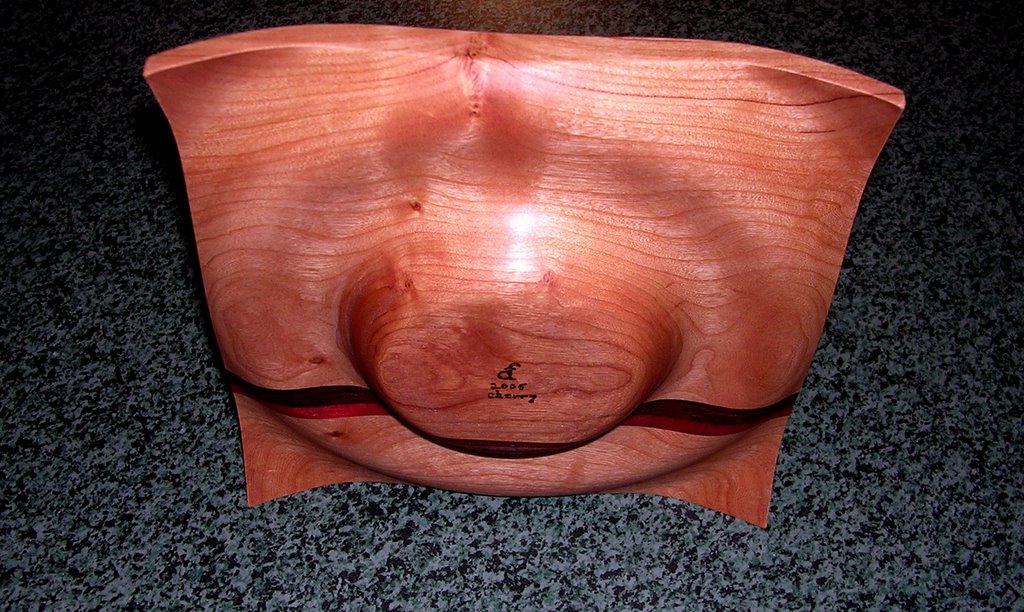
These two bowls are made from cherry; the stripes are bloodwood (red) and cocobolo (brown). There are at least two ways to turn square bowls, but for now you'll just have to speculate. I gave one of these to my father for his 90th birthday.
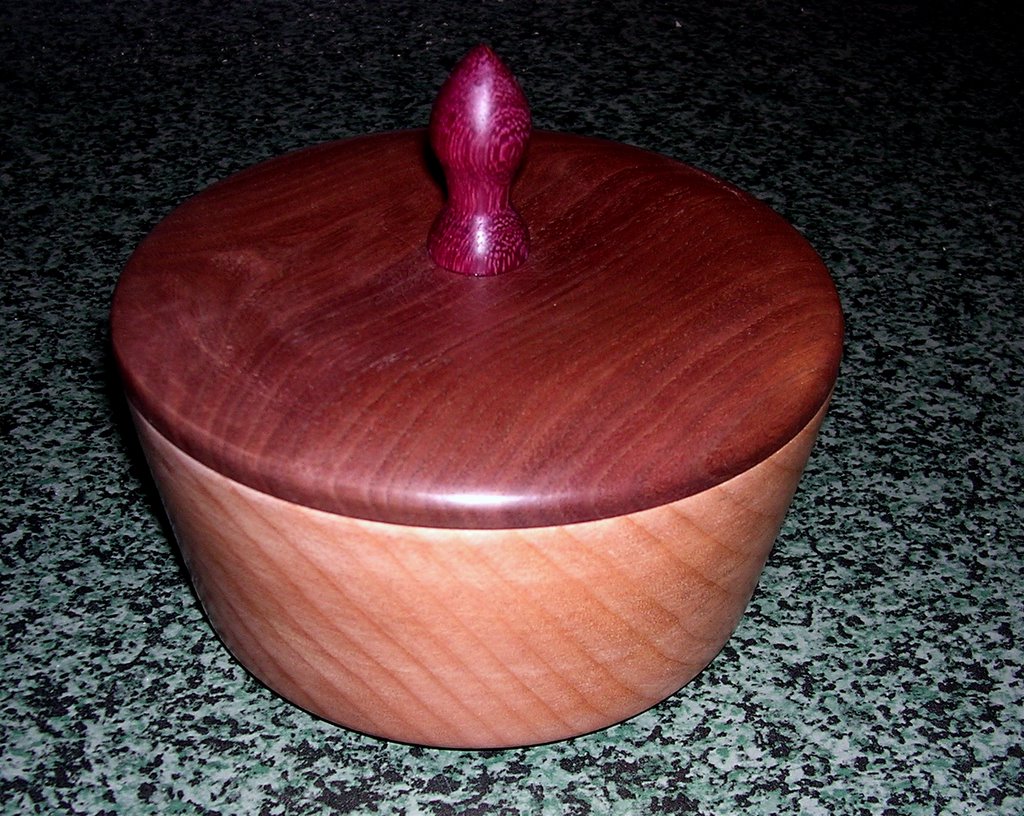
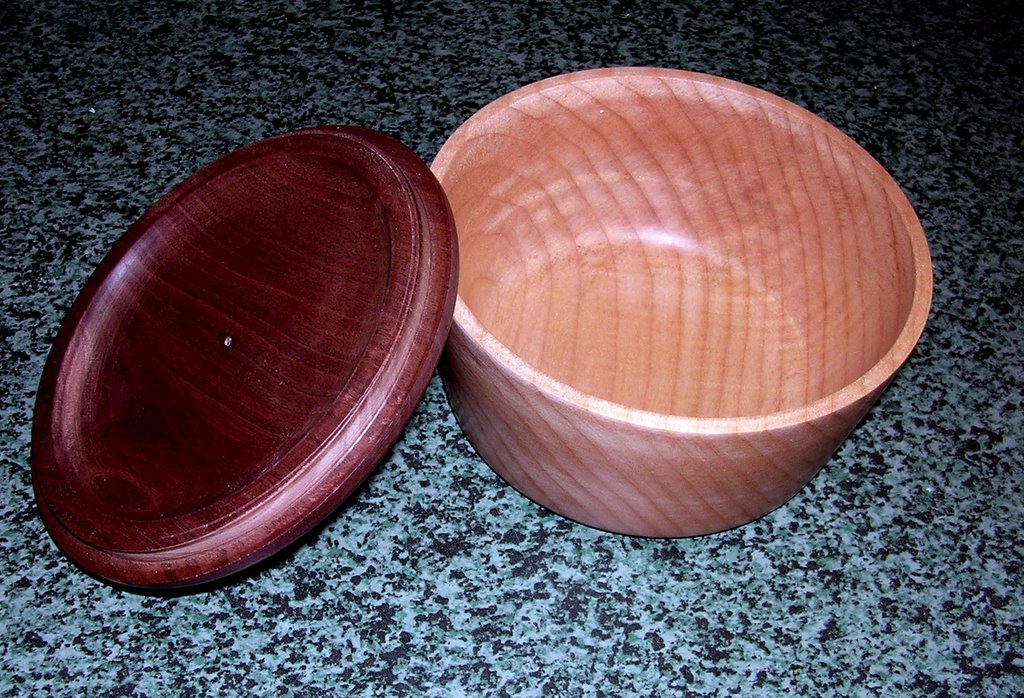
I turned this bowl from curly maple. I then turned the lid from walnut, and cut a rabbet on the under side of the rim of the lid to fit into the base. Finally, I turned the knob from purpleheart.

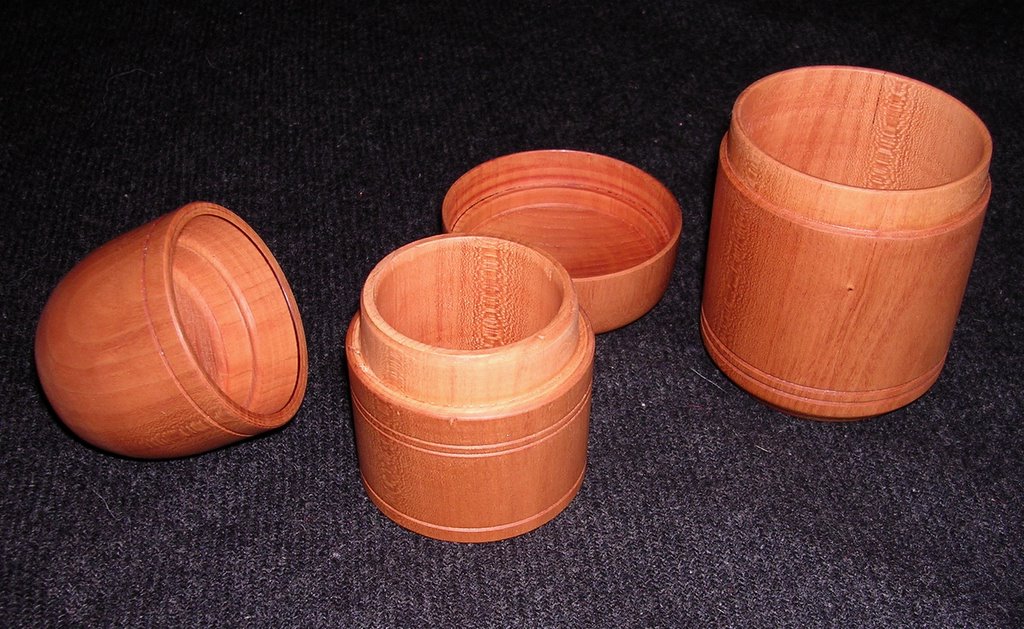
Here are two cherry boxes that I turned. The bullet-shaped one was my first box. Each of these boxes is turned from a single piece of wood. Once the outside was turned, the cylinder was parted off between the top and bottom sections; each of these was then hollowed; and the join between the two turned to fit. These boxes are 4" tall. The larger is 3" in diameter; the smaller one is 2.5".

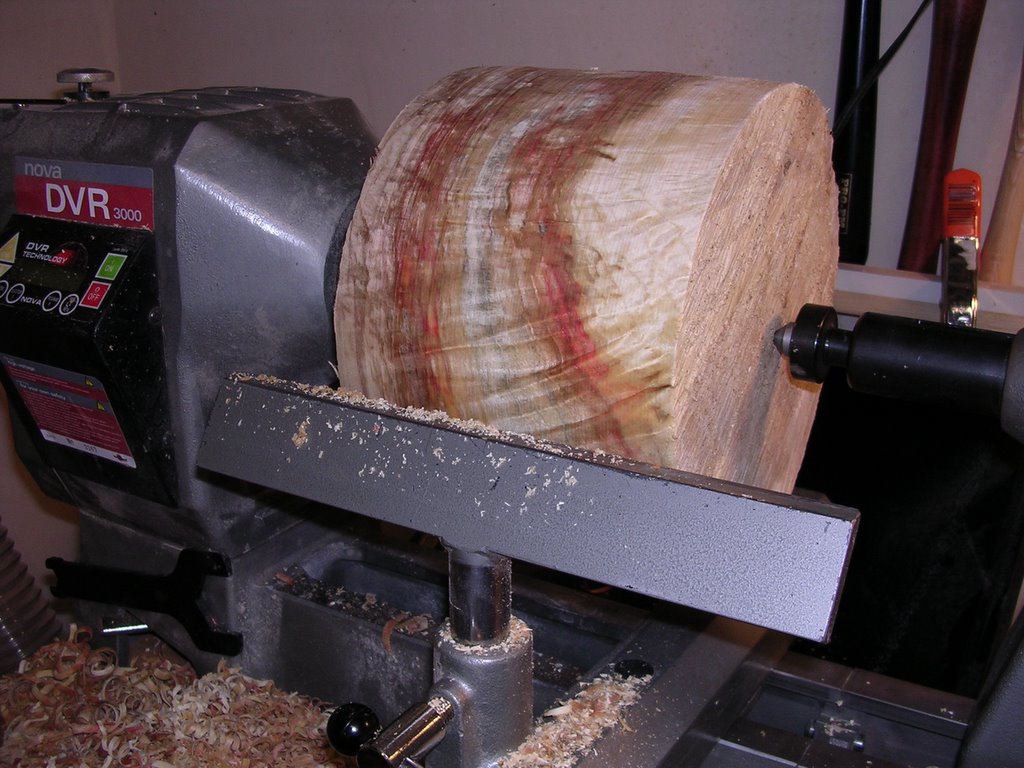
Here's the basic process in turning a bowl - in this case a fairly large bowl from a beautiful chunk of box elder. In the first picture the block of wood has been mounted on a faceplate, and because of its size, also supported by the tailstock.
In the second picture the blank has been turned round, but has not yet been shaped. Subsequent to taking this picture I turned the outside shape of the bowl and turned a tenon on the base so that I could reverse the blank and grab the tenon with my chuck. But I forgot to photograph this step!
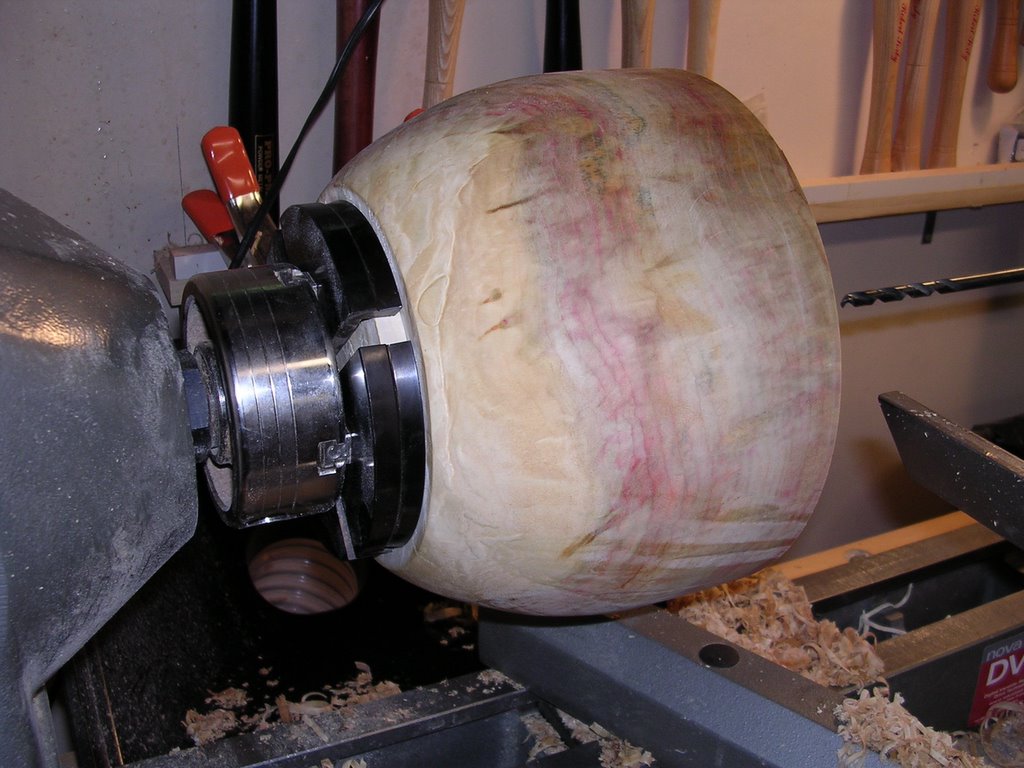
Here the blank has been reversed, and is held by its base in a 4-jaw chuck. Since it hasn't been hollowed out yet it is still very heavy - so I'll bring the tail stock up again to support the blank while I start turning the inside of the bowl.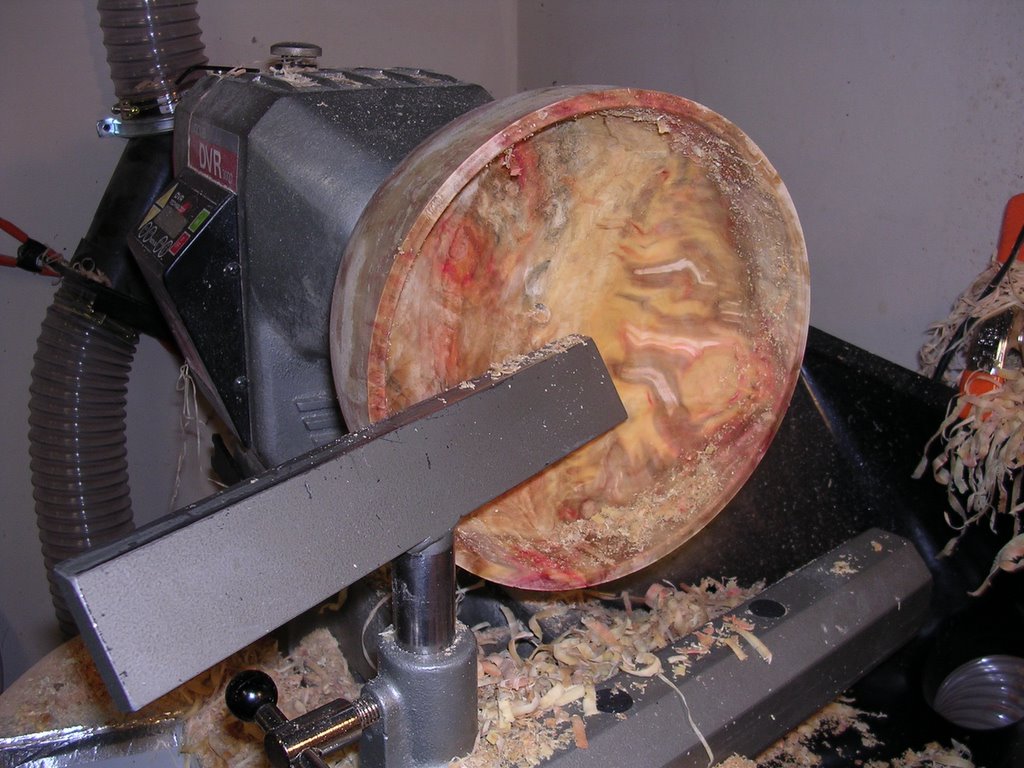
I'm now turning the inside of the bowl. When I've finished it can be re-mounted the other way around so that I can shape the outside of the bottom of the bowl.
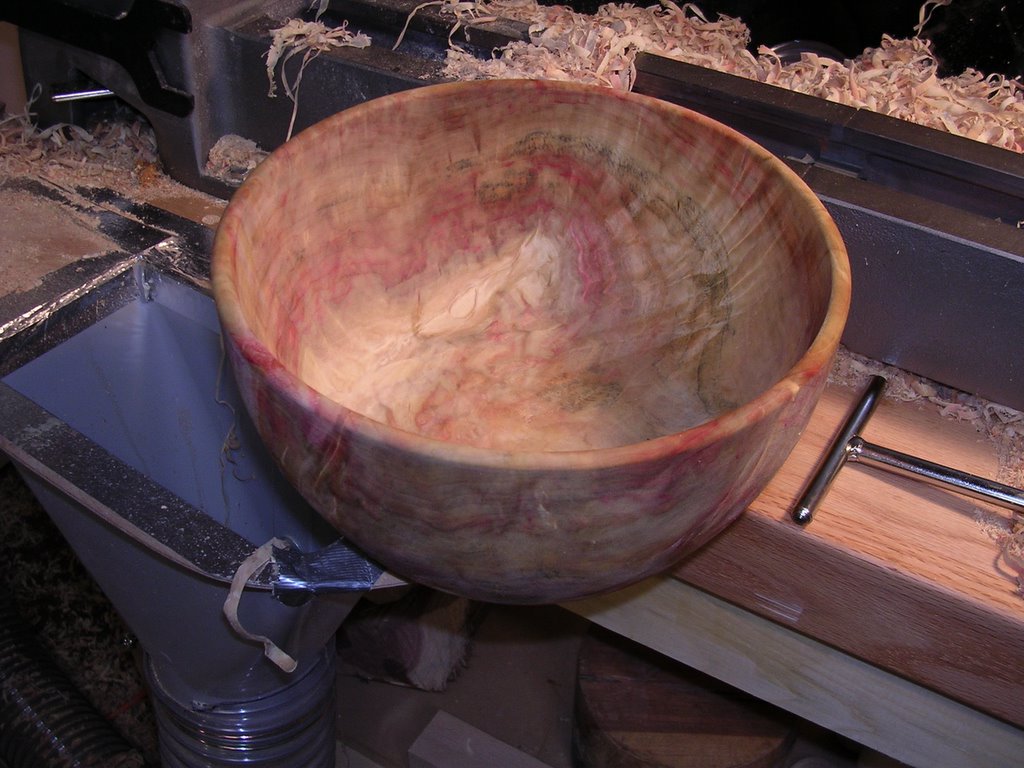
I've finished turning the inside of the bowl. Now I'll re-mount it to turn the bottom.
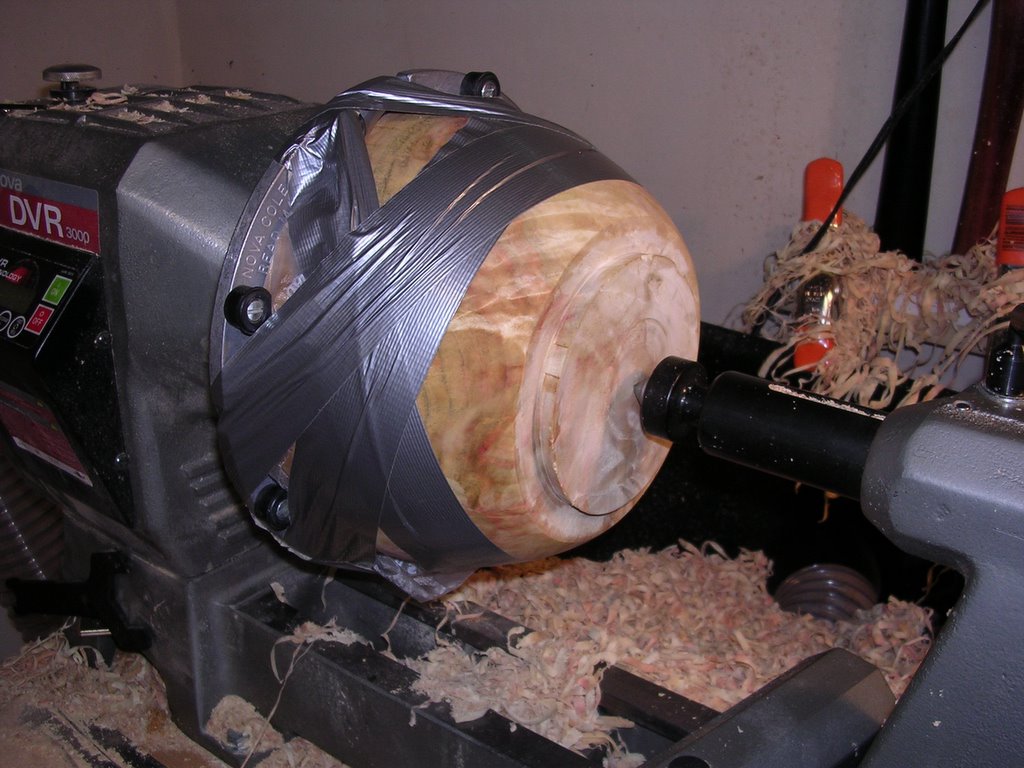
The bowl has now been re-mounted with its rim held in the chuck-mounted Cole jaws (which have adjustable rubber buttons to grip the rim). I've also taped it down with duct tape so that it can't fly off the chuck. This can happen all too easily, I've discovered. Now I'll turn away the tenon and shape the base. The tailstock will be taken away after the tenon has been turned down to a small diameter.

Here is the finished bowl. Box elder often has some beautiful color, as this piece shows. This particular bowl was purchased by a neighbor.